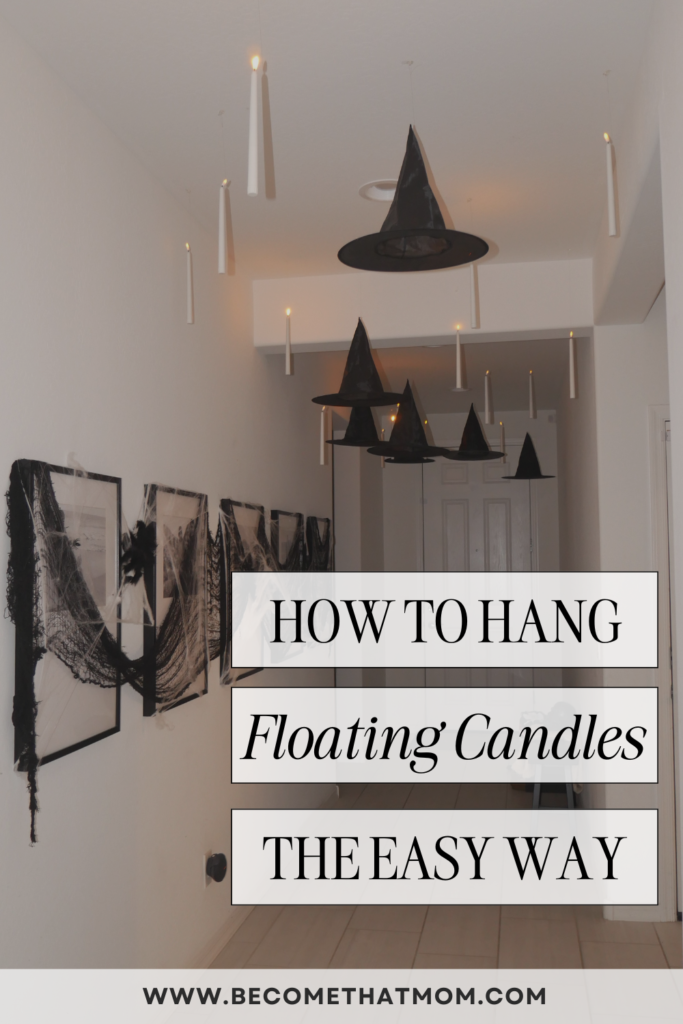
It’s time to decorate the house with the popular Harry Potter floating candles, which are the absolute vibe for this spooky season!
This post may contain affiliate links, which means I’ll receive a small commission if you purchase through my link, at no extra cost to you. Please read the full disclosure here.
This will be my fourth year hanging up the Harry Potter-inspired floating candles, and I absolutely love the spooky, cozy vibe they give during the Halloween season. Whenever trick-or-treaters come to the door, they are always in awe of the floating candles hanging from the ceiling.
I’ve experimented with using just floating candles. The following year, I hung floating witch hats. Now, I love the combination of floating candles and witch hats for Halloween. I’ve also made a few mistakes along the way, so I will share some mom hacks with you, such as how to hang floating candles without damaging the ceiling and other tips that I’ve learned so you can avoid the same mistakes I made!
The best part is that it is so easy to turn your hallway or any space in your house into the Hogwarts Great Hall! Make any space in your house magically spooky with these floating candles!
Here’s my step-by-step tutorial on how to hang Harry Potter floating candles easily and without damaging your ceiling!
- Harry Potter Floating Candles DIY
- How do you recreate the Harry Potter floating candles?
- Step 1: Insert the batteries into the floating candles.
- Step 2: Make sure the floating candles work.
- Step 3: Tie the fishing line around the base of the flame.
- Step 4: Cut the fishing line to the desired length.
- Step 5: Tie a loop knot at the end of the fishing line.
- Step 6. Set up the Command hooks.
- Step 7. Arrange the hooks on the ceiling.
- Step 8: Hang your Harry Potter floating candles!
- Step 9: Set up your floating candles on a timer.
- Step 10: Store the floating candles.
- Other Halloween decorations
- Halloween Floating Candles
Harry Potter Floating Candles DIY
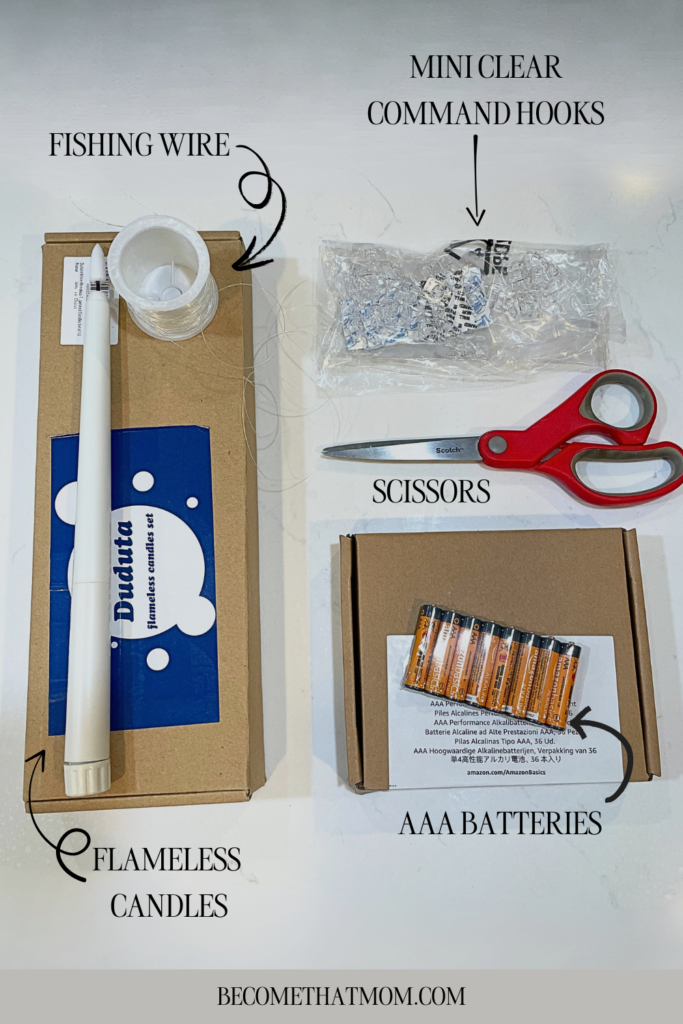
What you’ll need
Additional Supplies (optional):
Floating Candles
The type of candle you use for this Harry Potter floating candle makes a big difference in the overall Halloween aesthetic. Many great options are available now for floating candles compared to when I originally bought them.
These are the candles I bought, and I still love them even after four years. All the candles still work great, and I’ve had zero issues with them so far.
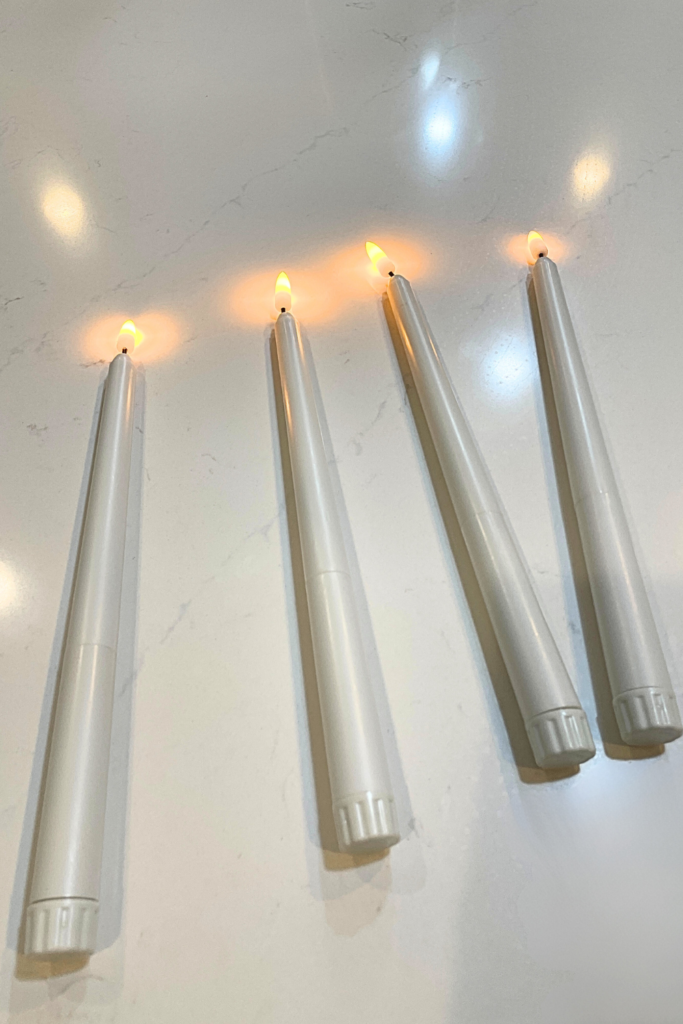
These white floating candles are tapered and flicker like a real flame—both characteristics that make them look like real floating candles. They come in a set of 12, and I bought two boxes to cover the length of my hallway. If I wanted a fuller look with the floating candles, I would buy at least one more box, but for now, I’m content with how it looks with 24 candles.
Harry Potter Floating Candles With Wand
Another option for floating candles would be to buy a Harry Potter floating candles kit like this one. The Harry Potter floating candles come with a wand instead of a remote. The kit also has everything you need, including the wall hooks and stickers. You will have to purchase the batteries.
These candles also come with an adjustable preattached wire and only need 1 AAA battery.
How do you recreate the Harry Potter floating candles?
Step 1: Insert the batteries into the floating candles.
First, we have to ensure the candles work before you hang them up, so you will start by unfastening the end of the candle to open the battery slot. Then, insert 2 AAA batteries and fasten the end cap on the candle.
Repeat this step with the desired number of candles you want to hang.
MOM HACK: Use the good batteries! Don’t skimp on the quality of the batteries. I learned this the hard way when I had to replace the batteries multiple times during the busy holiday season because the floating candles were burning out. Ain’t nobody got time for that!
Step 2: Make sure the floating candles work.
Take the little remote (or wand) that came with the candles and press the ON button to turn them on immediately to ensure they work. Once the candles can turn on, turn them off during the following steps to preserve the battery life.
Step 3: Tie the fishing line around the base of the flame.
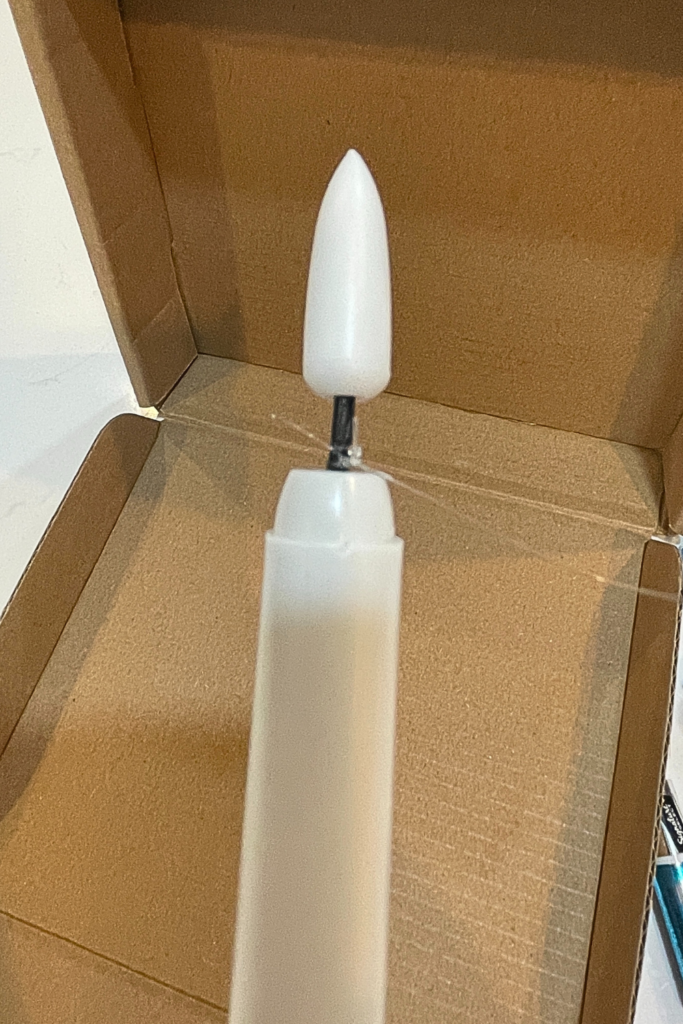
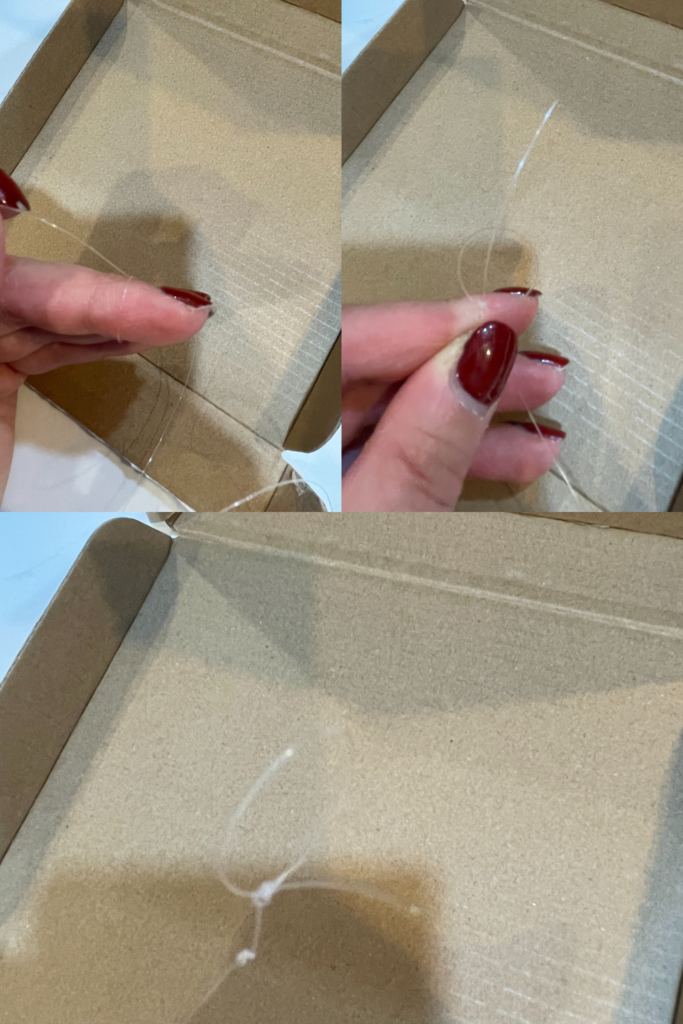
Next, take the fishing line and make a secure knot around the base of the flame of the floating candle. Tie the fishing line, leaving a tail like the one in the picture. I made a few more strong knots to ensure it didn’t unravel while it was hanging from the ceiling. Cut off the end of the tail so it doesn’t stick out.
Step 4: Cut the fishing line to the desired length.
You’ll then need to cut the fishing line to its desired length. I would estimate no more than a foot from the floating candle to the ceiling. Make sure to vary the length of the fishing line so it looks more realistic.
Repeat steps 3 and 4 with all of the DIY floating candles.
Step 5: Tie a loop knot at the end of the fishing line.
Once all the candles have the fishing line attached, you will go through each candle again and tie a loop knot at the end of each fishing line. This will be the end hanging from the ceiling from the command hook.
MOM HACK: Tie the ends of each fishing line around your finger to create a circle, making it easier to hang the floating candles. Cut the ends of the fishing line that sticks out.
Step 6. Set up the Command hooks.
Now, you are ready to hang your candles.
You can use a clear or white thumbtack with a flat surface like this one to hang your candles, but I prefer not to do it this way because I would hate to poke holes in my ceiling. I plan on decorating with Harry Potter floating candles for the years to come, so it would be challenging to hang the floating candles each year when there are a bunch of holes already in my ceiling.
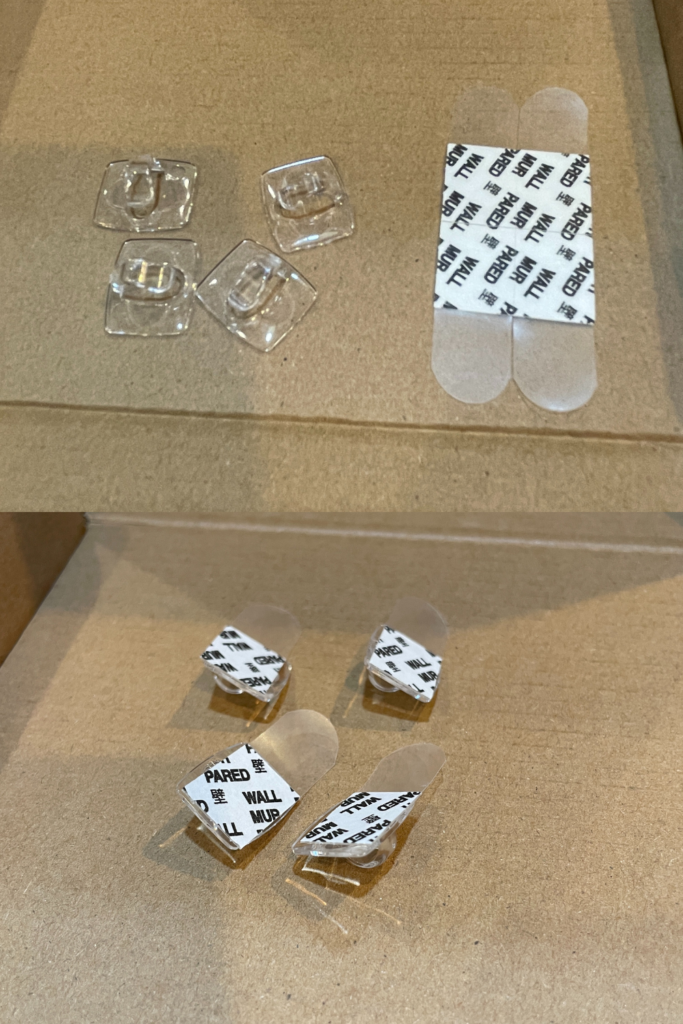
Instead, the best way to hang floating candles damage-free is to use clear mini command hooks like these ones. They are clear, so you can barely see them, and the hooks make it easy to slip on the loop knot that we made earlier.
Peel off only one side of the sticker and place it on the command hook. Leave the side meant for the wall on the sticker until you are ready to stick it to the ceiling.
NOTE: If you prefer to use the thumbtack instead of the hooks, you will need to tie the ends of the fishing lines around each thumbtack and hang the floating candles with the thumbtack simultaneously. If you do this method, you can skip the next few steps, turn off your lights, and turn on your magical floating candles!
Step 7. Arrange the hooks on the ceiling.
Arrange the command hooks on the ceiling how you want the floating candles to look when you hang them. I stagger the Harry Potter floating candles so they seem more realistic. You don’t want the candles to look uniform.
Peel off the other sticky side of the hooks and hold them on the ceiling for a few seconds to make sure they actually stick. When arranging the hooks, remember not to place the floating candles near any doors that may open and potentially hit the hanging candle.
MOM HACK: I actually leave the command hooks on the ceiling once the holidays are over, and I’m taking down all the candles. Doing so made hanging up the candles easier the following year because the Command hooks were already placed where I wanted them to be. All I have to do is make sure the batteries work, hang each candle on the hook, and that’s it! So simple!
Step 8: Hang your Harry Potter floating candles!
Once all your candles are hung up, turn off the room lights and turn on your candles! The candles also have a setting where you can set the flame to “flicker” to make it look like a realistic flame.
Step 9: Set up your floating candles on a timer.
Use your remote to set your floating candles to a timer to preserve battery life. You can set the candles to only be on for two or six hours. If you turn them on at a specific time of the day, they will automatically turn on at that same time the next day. Play around with the settings that suit your preference.
Step 10: Store the floating candles.
When the holidays are over and it’s time to take down the floating candles, I take them off the hooks and leave the hooks on all year. They are clear and small enough that I can’t see them on my white ceiling.
To store the floating candles, I unscrewed the ends of each candle enough so they couldn’t turn on while they were put away. You don’t have to take off the ends completely. I kept the box they came in and arranged them back in the box so that the strings didn’t get tangled, and I’ll be able to use them again next year.
READ NEXT → 120+ Best Fall Ideas You’ll Want To Include On Your Fall Bucket List Printable
Other Halloween decorations
Using the fishing line, you can hang anything from the ceiling to make it appear floating.
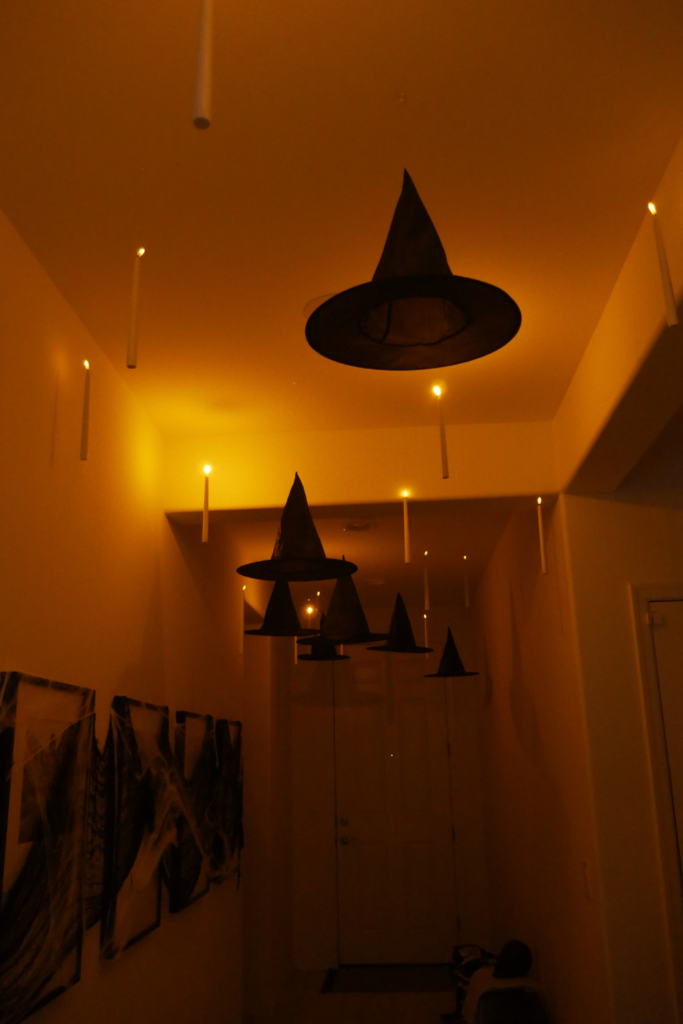
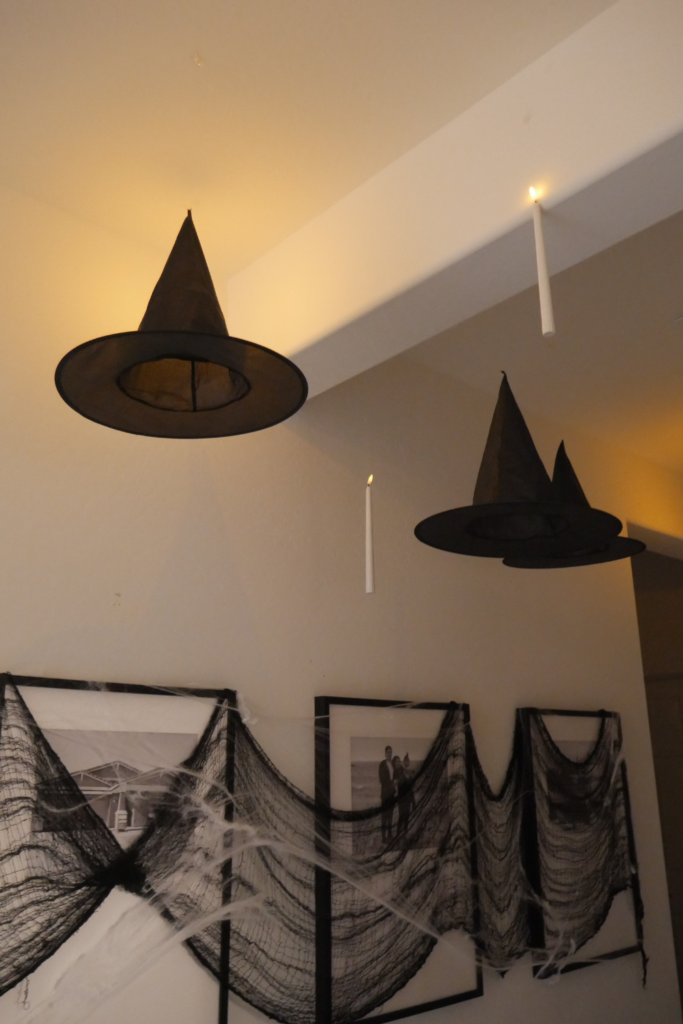
I will hang a mix of floating candles and witch hats from the ceiling during the spooky season.
Another great idea that reminds me of the Harry Potter Great Hall during the Halloween season is to hang mini LED Jack-O-Lantern pumpkins from the ceiling along with the floating candles.
When the spooky season ends and the coziness of Thanksgiving and Christmas rolls around, I’ll replace the floating witch hats with more floating candles so that the whole hallway will be covered with floating lights!
Halloween Floating Candles
If you’ve ever wanted to bring a touch of Hogwarts magic into your home, these Harry Potter floating lights are the perfect way to do it. Let me know if you tried the DIY hanging candles this Halloween season! I would love to see how you decorated your space with floating candles or other creative ideas!
This is exactly how to hang the Harry Potter-inspired floating candles.
Save this post for later or share it with your friends!
